Insight
Capturing that full, or half moon is thought to be a challenge, however, it's not. The settings are key. What comes to mind when you take the moon shot:
"It's dark, I need to push my ISO setting up, I need a slow shutter speed and have a sturdy tripod."
Well, that will result in a very bright blob on your photo with zero detail of the moon. The trick is that there is more than enough light to use your normal daylight settings, and a maximum of ISO 200. Take a chance and try freehand, but if you wish, you can use your tripod.
Consider that, if there is high humidity, haze, smog, or clouds, the possibility of getting a sharp image is drastically reduced.
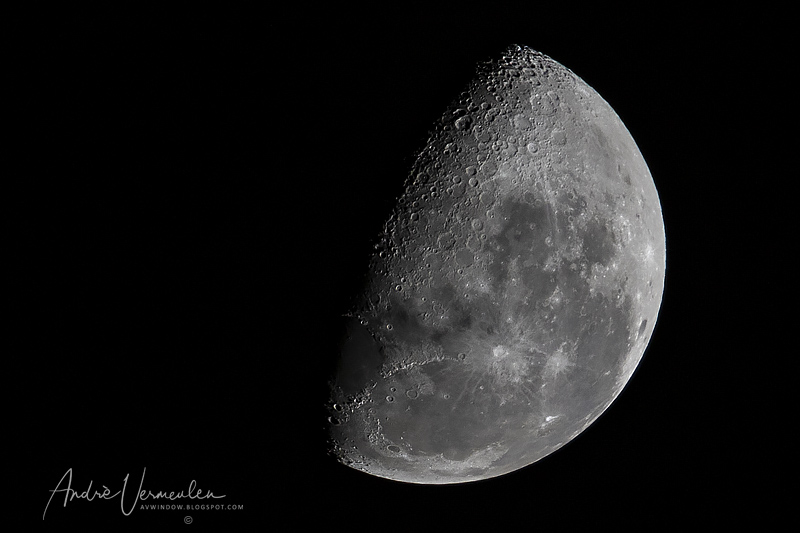
This image above is 100% hand held, Canon EOS 7D MkII, Shutter Speed (TV) 1/320, ISO 200. Lens used EF100-400mm f4/.5-5.6L IS II USM and for this image was at full 400mm, yet we also need to consider the crop factor multiplier of 1.6x at 400mm the effective focal length is thus 640mm.
Keep this in mind when you look at wildlife, sport or aviation photography. but more in a later post. (one advantage of a cropped sensor)
The next image is of a fuller moon,
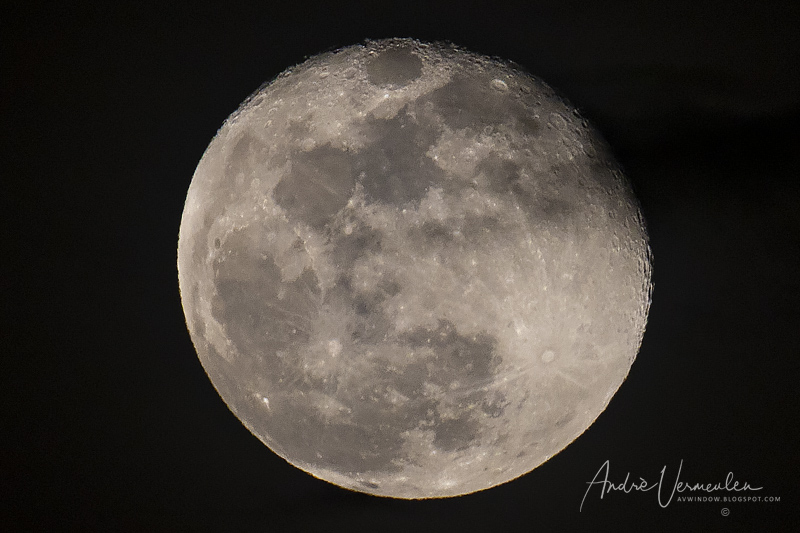
100% hand held, Canon EOS 7D MkII, Shutter Speed (TV) 1/250, ISO 160. Lens used EF100-400mm f4/.5-5.6L IS II USM and for this image was at full 400mm, considering the crop factor the effective focal length is thus 640mm.
Another Factor to consider is the height above the horizon the lower the moon the higher the risk of light pollution, and smog affecting the sharpness and clarity of your image, however you can include some of the horizon in the image.
I prefer to shoot when directly overhead, and the advantage is that the light passes through the least amount of atmospheric distortion, providing the sharpest, clearest detail of the lunar surface making the craters more visible.
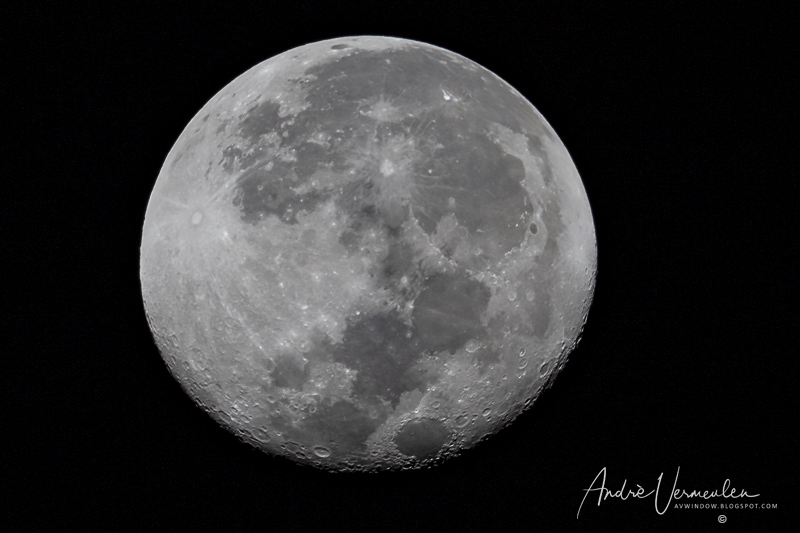
And lastly try get away from the light pollution in the City for the best result.
Have fun and experiment with my method.